Saturday, November 19, 2011

Ornaments

So last year during Christmas time I saw a video from My Pink Stamper about how to make your own glitter ornaments. I decided to make some which turned out awesome! I ended up buying way more glitter and glitter it glue then I really needed so I figured I could try to use it up by making some more this year. I decided to do it a little different this year by making them smaller and I also used chunky glitter instead of fine glitter. Once again they turned out great!

 These are all the supplies I used. Beacon Adhesives makes this awesome water based glue called Glitter-It. I used that along with glitter, clear glass ornaments and a old plastic cup to empty the glue into.

Steps for making them:
1. Make sure the ornaments you are using are clean and dry inside or else the glue and glitter will not coat right.
2. Take off the hanger of the ornament
3. Pour about 1/2 tablespoon amount into your ornament and slowly tilt your ornament so the glue coats the whole inside. When the inside is fully coated you will need to slowly empty the glue into your cup. (While you are doing this make sure you coat the opening of the ornament by turning the ornament slowly like you did above)
4. If the ornament you are using is big enough you can put your ornament into the cup and it will drain by itself. If it is not big enough you can just hold your ornament until all the excess glue drips out of it. 
5. After the excess glue drips out you are ready to put the glitter into your ornament! Put enough glitter into the opening of your ornament so you have enough to coat the inside. Do the same thing as you did above when you are coating with the glue. Slowly turn the ornament so the glitter coats the inside.
6. After you are done with the glitter simply dump the excess out onto a piece of folded paper to recycle your glitter and put the hanger back onto your ornament. No need to let it dry!

Here are my finished products!


This one is my favorite!!!

Thursday, November 17, 2011

37 Days Until Christmas!

I haven't had much time in the past few days to really do anything. For my education classes we had to go to a diversity placement for the whole week this week. I had a lot of fun but I am also excited to get back into the swing of things because I am absolutely exhausted! I did manage to make two cards with my Cricut this week though which I was pretty excited about since its starting to get close to Christmas again! So here are the cards I made....for both of them I used my new Winter Frolic Cricut cartridge that I got last year for Christmas but I never had the chance to use until this year!


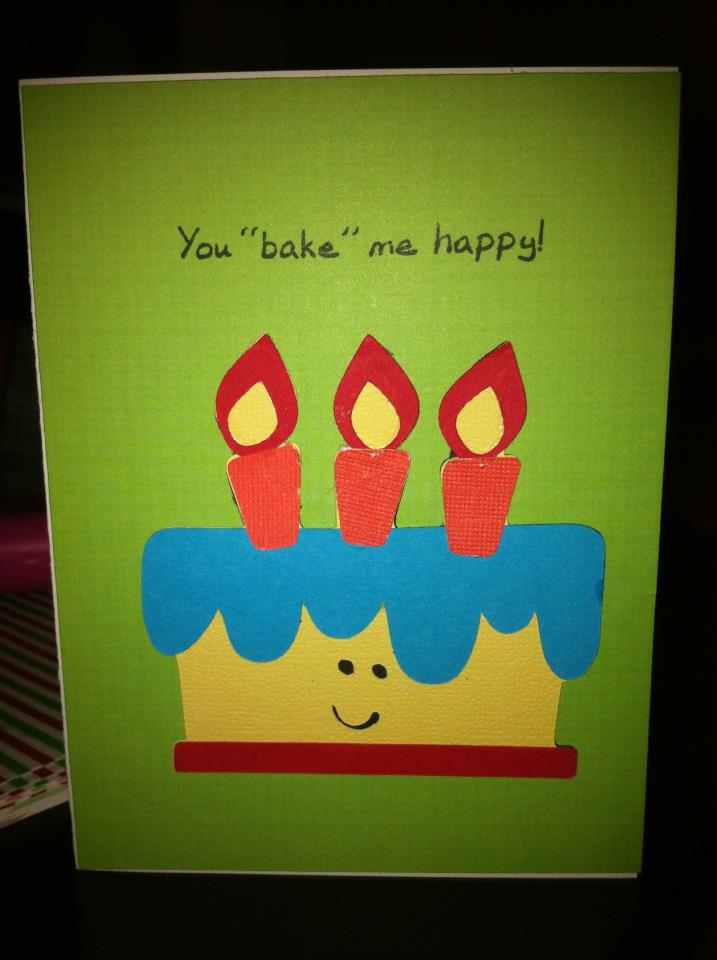
 Also my boyfriend Adam had his birthday today so we went out to eat for hibachi and sushi! It was delicious! This is the card I made for him...

Wednesday, November 9, 2011

Early Christmas Cards

So I know its a little bit early to even think about Christmas since its not even Thanksgiving yet but I was really in the mood to make a Christmas card the other day! So here it is...its simple but has just the right amount of detail I was looking for. Keep checking back for more Christmas cards to come soon!

I made this card using ribbon and paper from Michaels, the stamp is from one of the Christmas stamp sets from My Pink Stamper, and I used a snowflake Cuttlebug folder to make the snowflakes.

Tuesday, October 11, 2011

Pumpkin Math

Hello!

Ive been pretty busy doing all sorts of different projects for my education classes lately. One project we have to do is called a cross curricular project involving all of our classes. The project had to include a math, social studies, and a literacy part. My theme that I chose was pumpkins for the first grade class I work with since it is fall time! I chose a book called The Legend of Spookly the Square Pumpkin by Joe Troiano. This book is adorable and talks about a square pumpkin who is different than all the other pumpkins and ends up saving all the other pumpkins during a bad storm. The farmer then realizes that being different is a good thing and plants all sorts of different pumpkins the next year including different shaped pumpkins and ones that are different colors.
For the math part of my projects I Decided to cut out different shapes, colors, and patterns of pumpkins using my Cricut. The children will have to sort them into different groups according to color, pattern, or shape. They will then count how many groups their are.


Up close at the Cuttlebug folder pattern I used to create the patterns on some of the pumpkins.

I'm not really sure what im going to do for the other 2 parts of this project yet but ill be sure to post them when I think of them!

Wednesday, September 28, 2011

Quick Halloween Cards

These are just some quick Halloween cards I made recently using some new tools I just got! I recently got a Cuttlebug and a Martha Stewart Drippy Goo punch so I had lots of fun using those for my cards. All 3 cards are 4x5 1/2 and I used the Mini Monsters Cricut cartridge. The stamps I used are from a My Pink Stamper stamp set called Spook-alicious!


This one is my favorite!!


How cute :)

Tuesday, September 27, 2011

Treat Bags!


So as I said in my last post I'm helping out in a first grade classroom this year as part of my major. I decided that I would make my first graders some monster treat bags for some Halloween fun! I found some cheap pencils and ghost erasers in the dollar deal bins at Target. Along with that I decided to add in some candy.


The treat bag is cut from Mini Monsters cartridge at fit to page.


Inside the treat bags! I bought some crinkle paper to put on the bottom of the bags.


Monday, September 26, 2011

Its been a while!

I know its been a while since my last post (1 year!!) but I figured I would start back up again with this whole blog thing! I figured I would share some of my favorite cards/projects I have done in the past year.

During the past year the university that I go to has been having all of the elementary education majors spend a few days a week in a classroom as part of the state requirement. We have to have a certain number of hours so we can graduate. Last year I was in a second grade classroom for the whole year. It was so much fun and I enjoyed getting to know the teacher and the students. For Valentines day I made them these along with the card you see for the teacher with my Cricut. Everyone loved them! This year I'm with a First grade classroom so I am looking forward to getting to make those students some things as well!

                               
This was a card that I made for my boyfriend on Valentines Day!


I went to my first Creative Memories party recently and got these adorable paper flowers to use. The stamp is from a set of My Pink Stamper stamps! 

 My best friend Megan (Spelled the wrong way! lol!) loves Gators and Cheetah Print so this was her birthday card.

Just a quick and cute birthday card I made for my future sister in law!  We both share a love for cupcakes so I figured this card would suit well! :) The stamp is from a set of stamps from the My Pink Stamper line.

I had so much fun making these cupcake boxes!! I used the new Sweet Tooth Boxes cartridge that Provo Craft released this summer. I made these, with cupcakes included, for my neighbor and her son who let us borrow some fans this summer when our air conditioning died.